

Parking lot maintenance can feel like a daunting task. Often, many put it off until small issues grow into significant, unavoidable problems. However, resurfacing your parking lot can be a critical step to restore its durability and extend its life.
But where should you begin? What’s involved, and how can you ensure you do the job correctly and efficiently? Don’t worry—we’re here to help with our guide: Everything you need to know before resurfacing a parking lot. We’ve got the insights you need to make an informed decision, from identifying the scope of the project to understanding the steps involved.
Extent of the Job
Each parking lot is unique, and treating issues without first diagnosing their causes can result in wasted time and money.
Potholes, Cracks, and Other Damage
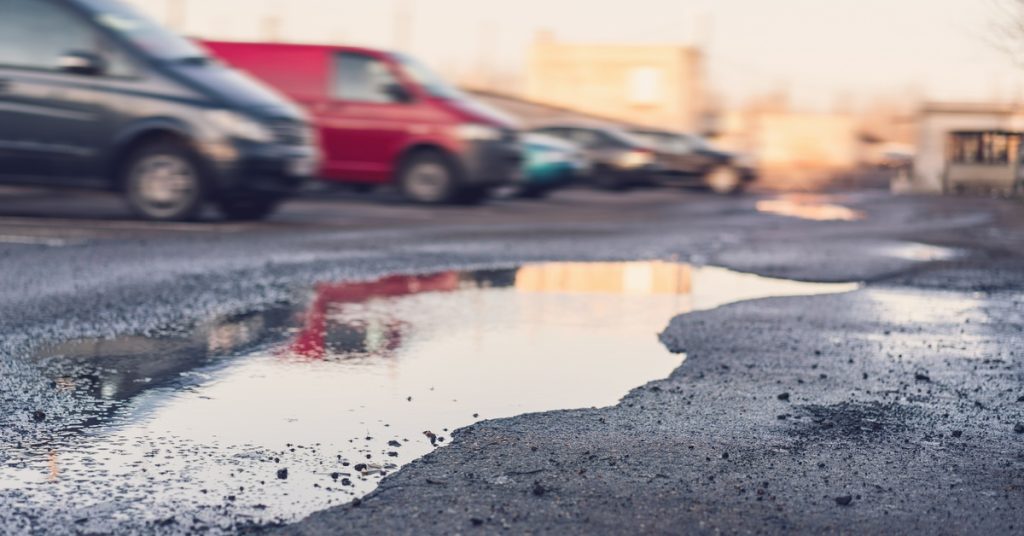
The presence of potholes, cracks, or other surface deformities is one of the clearest signs your parking lot needs resurfacing. Potholes create hazards for vehicles and pedestrians. These issues can grow larger if left untreated, weakening the pavement around them.
Similarly, cracks in the asphalt can spread, leading to further deterioration as water seeps through and compromises the foundation beneath.
Drainage Issues
Puddles can form and slowly chip away at the asphalt’s durability when drainage isn’t up to par, leaving it vulnerable to wear and tear. Watch out for uneven slopes, depressions, or clogged drains, as they are the sneaky culprits of long-term damage.
Causes of the Problems
Understanding the root causes of your parking lot’s issues is critical for avoiding future repairs. Some common culprits include heavy traffic loads, extreme weather conditions, and poor installation practices during the original paving process. Improper materials, insufficient compaction, or failure to maintain the surface over time can all play a role.
Knowing what caused the problem ensures the resurfacing plan addresses the symptoms and their source.
Materials Required
Asphalt is a common paving material and consists of a mix of aggregates, binder, and filler. Its flexibility makes it suitable for areas that must withstand heavy vehicular traffic. You’ll also need sealcoat for protection, crack filler for minor repairs, and milling equipment to remove existing layers of damaged asphalt. Choose high-quality materials to ensure your new surface can handle daily wear and inclement weather without breaking down prematurely.
You’ll also need a pavement roller for proper compaction, a paving machine for even application, and hand tools, such as rakes and shovels, to spread the asphalt. Safety equipment, including gloves, goggles, and reflective gear, is also crucial to ensure a safe working environment during the paving process.
How To Fix a Pothole
Repairing potholes is one of the most critical steps in any resurfacing project, as improperly repaired potholes can lead to further damage and costly fixes in the future. Start by thoroughly cleaning the damaged area, ensuring no debris, loose material, or moisture interferes with adhesion. This step is crucial for ensuring the new material properly bonds with the existing surface.
Once cleaned, fill the pothole with new asphalt mix, carefully compacted layer by layer to create a smooth, even surface that can withstand traffic and weather. Proper compaction is essential to prevent air gaps or weak spots that could lead to premature wear.
Approach this task with care and precision. Neglecting the edges, failing to compact properly, or using subpar materials can significantly reduce the repair’s lifespan. Taking the time to do it right will ensure a durable, long-lasting fix.
How To Repair Cracks in the Asphalt
Repairing cracks in asphalt is a crucial step in the resurfacing process to ensure a smooth and durable finish. Addressing cracks before applying a new layer prevents water infiltration and ensures the resurfaced asphalt adheres properly, avoiding future damage.
Begin by thoroughly cleaning the cracks and removing dirt, debris, plant matter, and loose asphalt. A clean surface is essential for proper adhesion. Once cleaned, fill the cracks with a specialized asphalt crack filler. Choose a filler that is durable and flexible to accommodate movement from temperature changes or traffic. Use a caulking gun or pourable filler to address small cracks. A trowel or squeegee can help you address larger cracks and achieve an even application.
Ensure the filler is smooth and flush with the surrounding surface for a seamless finish. This step improves the fill’s appearance and prepares the surface for the next stage of resurfacing. Once the filler has cured as instructed, the surface is ready for the application of the new asphalt layer, ensuring a strong, even, and long-lasting result.
How To Resolve Drainage Issues
Effective drainage prevents many of the problems that lead to resurfacing in the first place. Start by assessing the entire lot for slopes, low areas, and blocked drains.
Adjusting the surface’s slope, repairing sunken areas, or installing additional drains may be necessary. These adjustments allow water to flow away from the asphalt, prolonging its lifespan and reducing the need for future repairs.
How To Lay New Asphalt
The process begins with milling the old asphalt to remove loose or unstable layers. After preparing the surface, pour hot asphalt and spread evenly across the lot. Specialized machinery compacts the material, ensuring maximum density and strength. Pay careful attention to your movements during this phase as doing so ensures the new surface is smooth, durable, and built to last.
How To Apply Sealcoat
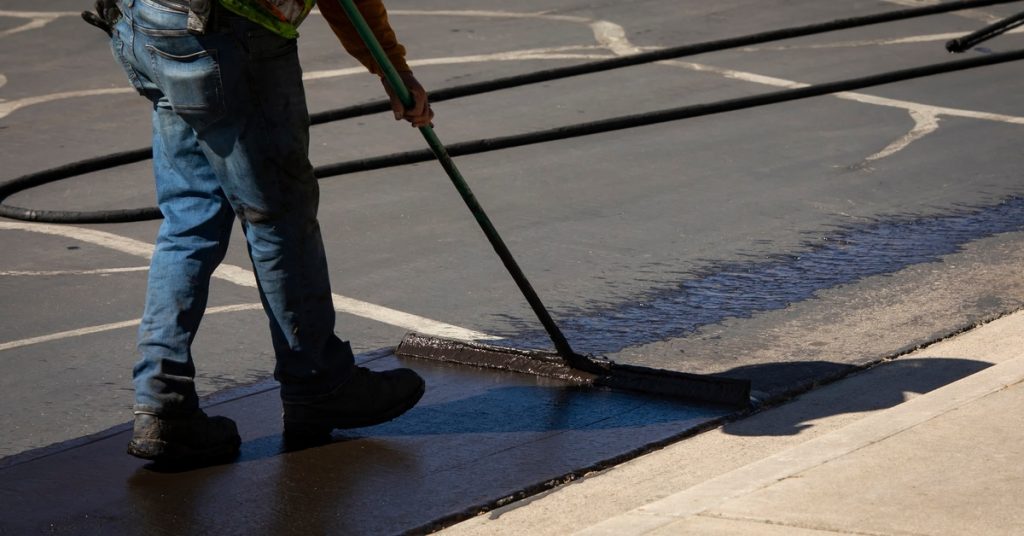
Sealcoating is the final touch in resurfacing. This protective layer guards the asphalt against water, UV rays, and chemical spills.
The surface must be clean and dry before applying the sealcoat. Once prepared, brush or spray the sealcoat onto the surface in a thin, even layer. Allow adequate drying time to ensure maximum effectiveness.
When To Call the Professionals
Now that you have everything you need to know before resurfacing a parking lot, you can see it’s no small task. It requires expert knowledge, specialized equipment, and precision at every step to ensure lasting results. While you can handle some minor repairs in-house, it’s best to leave the major resurfacing projects to the professionals.
CPM Sweeping specializes in precise, efficient milling sweeping solutions in Nashville, Tennessee. Our team brings years of experience and advanced tools to every project, guaranteeing high-quality results that stand the test of time. We have the tools we need to handle all aspects of parking lot maintenance, whether it’s asphalt repair, milling, or cleanup. We tailor each repair to the client’s needs. Learn more about us and our services on our website!